HOLLYWEEN

Now Playing: Nightmare Before Christmas-Sally's Song


HOME GRAVEYARD CAULDRON FUNERAL PARLOR MAUSOLEUM DUNGEON PROPS PARTIES
  AWARDS GUEST BOOK LINKS WEB RINGS GAMES    


Once you check in here....You never want to check out!

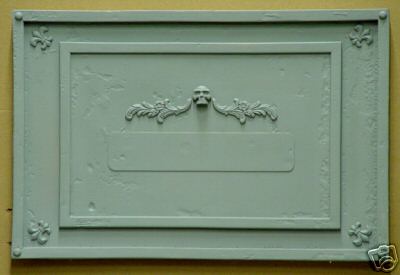
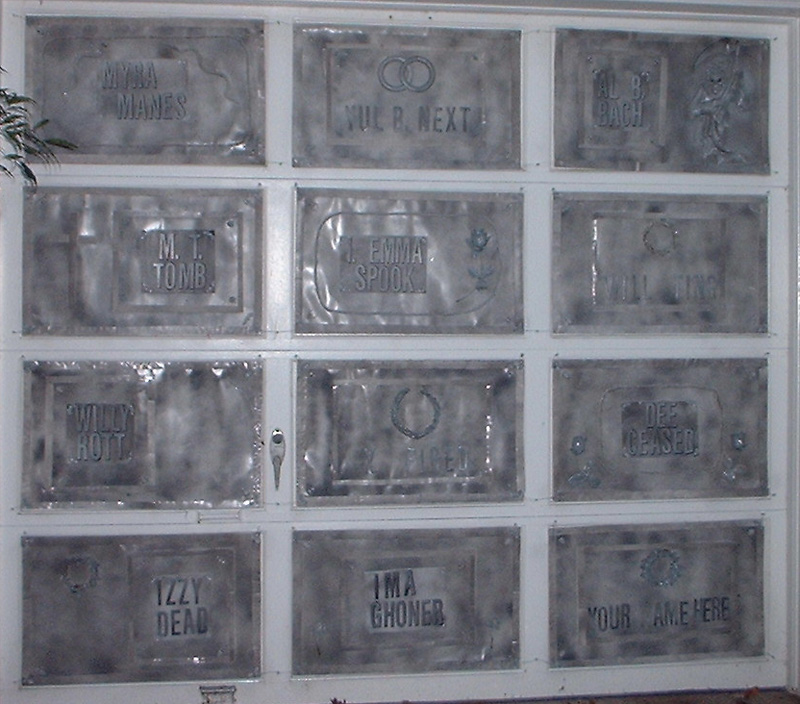
Added 2005....I have a long concrete driveway which until 2005 had been the entrance/exit to my haunt with two large white garage doors at the end. I've always thought the garage doors did nothing to add to the display. Well, no longer... I turned one of my two 12 panel garage doors (left side) into the Hollyween Memorial Mausoleum. Read about my construction efforts below.  It turned out to be a realistic and inexpensive addition to my haunt. (This was a very fun project for me but it was also very time consuming.) The other garage door is now home to the Dungeon.


BACKGROUND


Like with Mistress of the Dungeon,
I was cruising eBay and saw this vault door listed.
I thought about where I could hang something like this.
I remembered my two garage door have 12 rectangular sections each.
But I would need 24 of these and at $60+ each
......and it wasn't even the right size!!

Once again my creativity has gotten the better of me
and I decided to make them myself.
I decided for 2005 to do just the left garage door
so I'm only making twelve (only?!).

SUPPLIES

12 sheets of white poster board
1-2 cans medium/dark gray spray paint
1 can lacquer spray (already had)
1-2 cans light gray spray paint
1 50' roll of 5" sill insulation
Hot glue gun and lots of glue sticks
Small tube of clear liquid nails
 Various small items
(cheap skulls, spiders, bats, leaves,
leaf garland, rope, twist ribbon, braids, purchased
from the dollar stores, craft stores and party supplies
to use to decorate each vault door)


Another Vault door listed on ebay at $15 +$8 shipping.

CONSTRUCTION INSTRUCTIONS


50 foot roll of 5" sill insulation
showing strips cut for borders


(Done is Assembly-line fashion)

  1. Using the gray spray paint and holding it about 4 feet from the poster board, I lightly sprayed each back and forth vertically to get the uneven marble-like appearance.
     

  2. I then cut my poster board to fit my garage panels (28"x17").
     

  3. I cut the remaining poster board pieces into long 1" and 1/2" strips.
     

  4. I wanted my vault doors to be 3-D and After much searching I found the 5" sill insulation at Home Depot for $5. I cut this into 1" strips for outlining each door and 1/2" strips for creating an inner box area.
     

  5. I hot-glued the 1" poster board strips to the 1" insulation strips.
    I then hot-glued strips around the sides of each vault door creating a raised one-inch wide outline. If I had to do it again, I would use liquid nails instead.

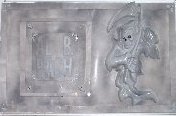
(End of Assembly-Line)

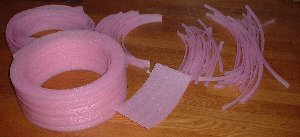
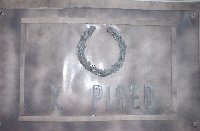
At this point my initial plans changed.
I was going to make all the doors the same
and put different goofy names on them.
Now I decided that each door would have a unique design
with no two looking exactly alike.

I purchased small plastic rings and other decorating items
as cheap as I could find (try Dollar stores, Craft stores).

  1. Using an empty newspaper plastic bag over my hand,
    I put the rings on my fingers and painted them light gray.
    Once they had dried I cut off the ring section.
    I spray painted all the other items I had bought as
    decorations light gray as well.


  1. I decided to secure the corners using braids, also painted gray,,
    to add strength to the door.

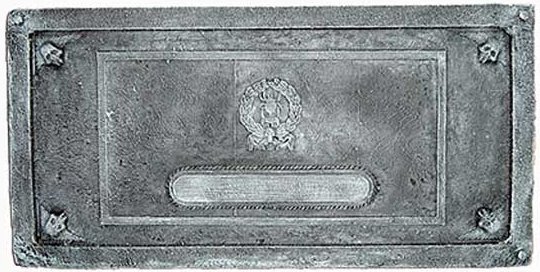
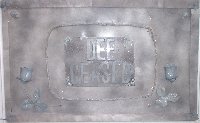
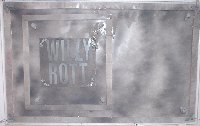
At left is the 1st completed vault door prior to decorating.
(I also used rope and braid ribbon for the inner box outline.
Some have smaller inner boxes offset to the sides.)

  1. I bought some wired leaves to decorate the corners by wrapping the wire around the braids and left the extra wire attached. I figured I could use these somehow for hanging...

(End of Assembly-line work)


  1. From this point on, I let my imagination run wild and started putting the painted decoration in the corners and all around the doors.
    I used the clear liquid nails to attach these uneven decorations.

  2. I researched goofy names and created a list of 12 names I would use:

Myra Manes
Will Ting
X. Pired
Al B. Bach
Willy Rott
Dee Ceased

I. Emma Spook
M.T. Tomb
Ima Ghoner
Izzy Dead
Yul B. Next
Your Name Here!

  1. I purchased black 3" stick-on letter from the hardware store.

  2. To make the name plates I collected used Styrofoam trays from my college cafeteria.

  3. I painted the letters and trays with the two colors of gray paint.

  4. I put the letters on the trays then, using braids, attached the whole thing to the vault doors.
    Some of the letters I cut out and glued on the doors by themselves.

  5. Finally, I used a Lacquer spray to seal and protect the panels from the elements.

Mounting Instructions

I used clear push pins for attaching to the garage door placed between panels and wrapped the corner leaf wires around the pins to secure them to the door.


Some of the individual vault doors...


I mounted a wall vase with dead flowers on the right of this panel.

EMAIL

Sign Guest Book
PLEASE SIGN MY
BOOK OF THE DEAD

TOP


Copyright @ 2005, Holly A Zell
Revised:  October 08, 2007 11:25