|
|
| HOME | GRAVEYARD | CAULDRON | FUNERAL PARLOR | MAUSOLEUM | DUNGEON | PROPS | PARTIES |
| AWARDS | GUEST BOOK | LINKS | WEB RINGS | GAMES |

![]()
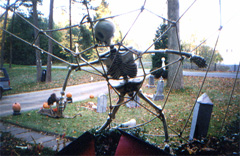
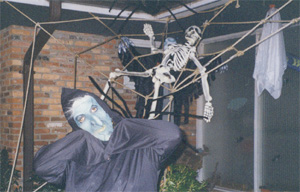
Circa 2001
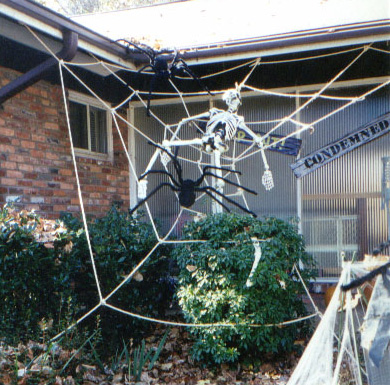
I created my spider web in 1994 with just a thought in my head. IT TURNED OUT GREAT!! Initially I had a plastic newspaper-stuffed spider on the roof but, decided after a couple of years that it looked too hooky. In 1996 I replaced it with a large hairy spider with adjustable legs I got at Kmart. I also got the life-size plastic skeleton at the same time and by accident (happened to toss him onto the web to get him out of the way), decided he look great draped across the web with the spider descending down upon him. Got second spider in 2001.
|
|
|
|
Circa 2002
"Here's lookin at you, kid"
2006
![]()
|
Two 50' or one 100' length of natural-colored rope Six 3" nails with heads Two tent stakes A ladder Scissors or Utility knife for cutting the rope Tape or some means of sealing the ends of rope to keep it from unraveling (I used 2" wide packing tape and wrapped the ends) |
| I nailed the six 3" nails spaced out on the back of the gutter flashing
where it met in a corner. The one end closest to the door overhangs the walkway so visitors walk under it. Only sink the nails into the wood about 1 1/2". You need the exposed nail to hang the web ends upon. |
|
|
|
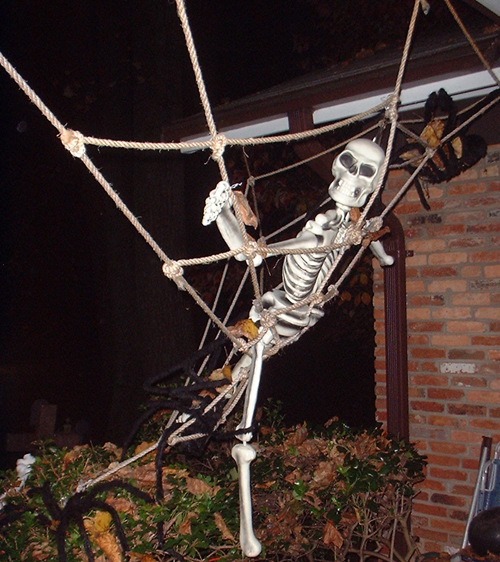
I started with 2 long vertical lines
in the shape of an "X", going from the back of the gutter to the ground. (For my web, these two are the line in the gutter corner coming down to the ground on the right, and the top far right line coming down to the left.) They are attached at the top by tying knots in the ends and slipping over the nail heads. Make sure to leave extra rope at the top ends since you'll be adding knots later. (The knots also making it easy to slip on and off the nail head when tying the knots in the vertical lines later and for taking it up and down for the season). They are secured to the ground by tying knots in the ends and slipping the knot over the end of the partially pounded in tent stakes. Pound the tent stakes the rest of the way into the ground. Your "X" should be taunt. |
| I then ran the four remaining vertical lines of the web. They are made up of two long lengths of rope knotted around the cross of the "X". Again leave extra rope at the ends for adding knots later. (One goes from the far left nail at the top down to the center, knotted, and back up to the next nail to the right, completing the left side of the vertical supports. The other goes from the nail to the left of the right top end line down to the center, knotted, and back up to the nail to its left.) This completes the vertical lines. |
|
|
|
Then I started cutting, knotting, and tying the four circular lines. I detached the vertical lines from the top and tied knots in them for each circle to hold the webs shape. I also knotted the circular lines around each vertical connection. |
![]()
|
|
|
|
![]()
![]()